Saturday, October 27, 2018

Friday Post - October 26 -

Dynamic Systems

How I did...
  1. Drop all screenshots in Premiere
  2. Make a new sequence
  3. Put all unsolved puzzle screenshots in V1 and make them move bigger - Intro
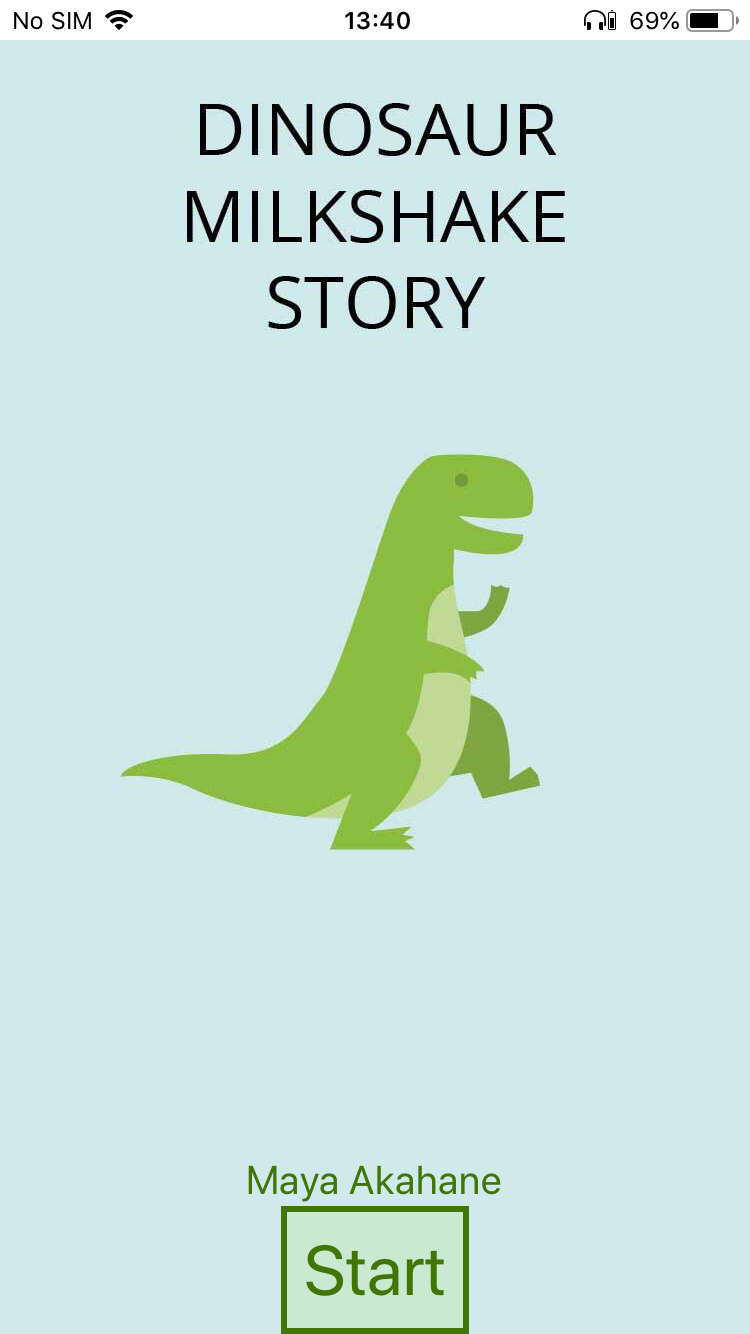
  4. Put title screenshots in V2 and make it move slowly bigger
  5. Add my name in V3 make it show up in the middle of intro and move it slowly bigger
  6. Also add default transition to the text of my name
  7. Add all puzzle screenshots to the sequence V2 ( right after the intro ) - Body
  8. Make their speed/duration longer than intro (about 4;29)
  9. Make unsolved puzzle picture slide in from right and make it shrink and blur away
  10. Make solved puzzle picture blur in and slide it away
  11. Copy and paste attribute to each solved and unsolved pictures
  12. Add only solved pictures to the V1 ( right after the intro ) - Background
  13. Adjust their lengths to cover both its solved and unsolved pictures in V2
  14. Make them bigger to cover all screen and make them move slowly bigger
  15. Also make them blur
  16. Add default transition to all pictures of background
  17. Add text of "Thanks for Watching" at the last of slideshow (V3) - Ending
  18. Add default transition to it
  19. Select classic song and drop it into A1
  20. Adjust it length 
  21. Add default transition to both beginning and ending of the song
  22. Export 
  23. Done!

Friday, October 26, 2018

Video Editing - Basic - Project 2


How I did...

  1. Create a sequence
  2. Add all pictures from my blog to a layer
  3. Make an intro with fast moving pictures and title
  4. Add pictures to the layer after the intro
  5. Make blurred backgrounds moving slowly bigger and add default transition\
  6. Add pictures to a different layers 
  7. Make them slide form right to left
  8. Choose two songs and add them into a layer
  9. Adjust song's length to make a good transition to another song
  10. Add default transition to beginning, shifting, and ending of songs.
  11. Add text "Thanks for Watching" at the ending of slide show
  12. Add picture of muffin and make it move to bye-bye to the audience.
  13. Done!


Extra things I did...
- Changed the length of transitions
- Make the muffin image rotate
- Added the last slide "Thanks for watching"
- Added a animated muffin in last slide
- Change the speed/duration of last slide of intro (rotating muffin)
- Make the transition of song in the video smoother

Thursday, October 18, 2018

Video Editing - Basic - Project 1

Project 1 - Beautiful Lakes


How I made this video
  1. Open Premiere and create a new project
  2. Change to Assembly mode
  3. Collect 10 pictures and drop them into the space '' Import the media to start''.
  4. Add sequence (Click File, New, and Sequence)
  5. In the setting of new sequence, choose HDV and HDV 1080p30 and click OK to apply them.
  6. Select all picture imported and drag them into the editing bar (V1).
  7. Change to Effects mode
  8. Select the first picture in the editing space
  9. Add scale effect in the Effect Controls to make the picture move bigger
  10. Do the same things to all the other pictures
  11. Add text (Click T beside the editing bars).
  12. Change the font, color and size
  13. Make the text move by adjusting position in Effect Controls
  14. Change to Assembly mode
  15. Select all pictures and change the speed/duration into 5;00
  16. Place all pictures after the edited pictures in (V1) bar
  17. Make those pictures blur 
  18. Add scale effects to make them move bigger
  19. Copy and paste attribute the effects to all the other pictures
  20. In the Assembly mode, select all pictures and drop them into editing bar (V2)
  21. Make sure the those pictures are not covering screen (if they are, add scale effect to make them smaller)
  22. Add position effects to make them slide from the right to the left.
  23. Copy and paste attribute the effects to all the other pictures
  24. Find a  music and drop it into the editing bar (A2)
  25. Adjust the length of music
  26. Export the video 
  27. Done!!


Wednesday, October 17, 2018

Friday Post (October 12, 2018)

Burning Muffin...🎂


Burning Muffin

Tutorial

How it was done
1. Open a picture  of muffin in photoshop
2. Add bevel & Emboss effect
3. Add Gradient effect
4. Add Drop shadow effect 
5. Select pen and draw face and body parts of muffin.
6. Export the muffin as a png
7. Open solar flare image in new tab
8. Drop the png of muffin into the solar flare tab
9. Change the size and angle. Then drag it and place it into the explosion of solar flare
10. Set the layer mask both in muffin and solar flare layers
11. Push Ctrl+I to inverse the color of layer mask
12. Select brushes and add effect by drawing
( By adjusting the brush color between black and white, the degree of transparency of brush will change. White: completely transparent. Black: completely opaque.)
13. Design each layer masks to make it look good.
14. Done!


Friday, October 5, 2018

Photoshop - 3 Tutorials

Layer Mask Method


1. Emma Watson

2. Colored Powder Explosion

3. Cinderella Castle